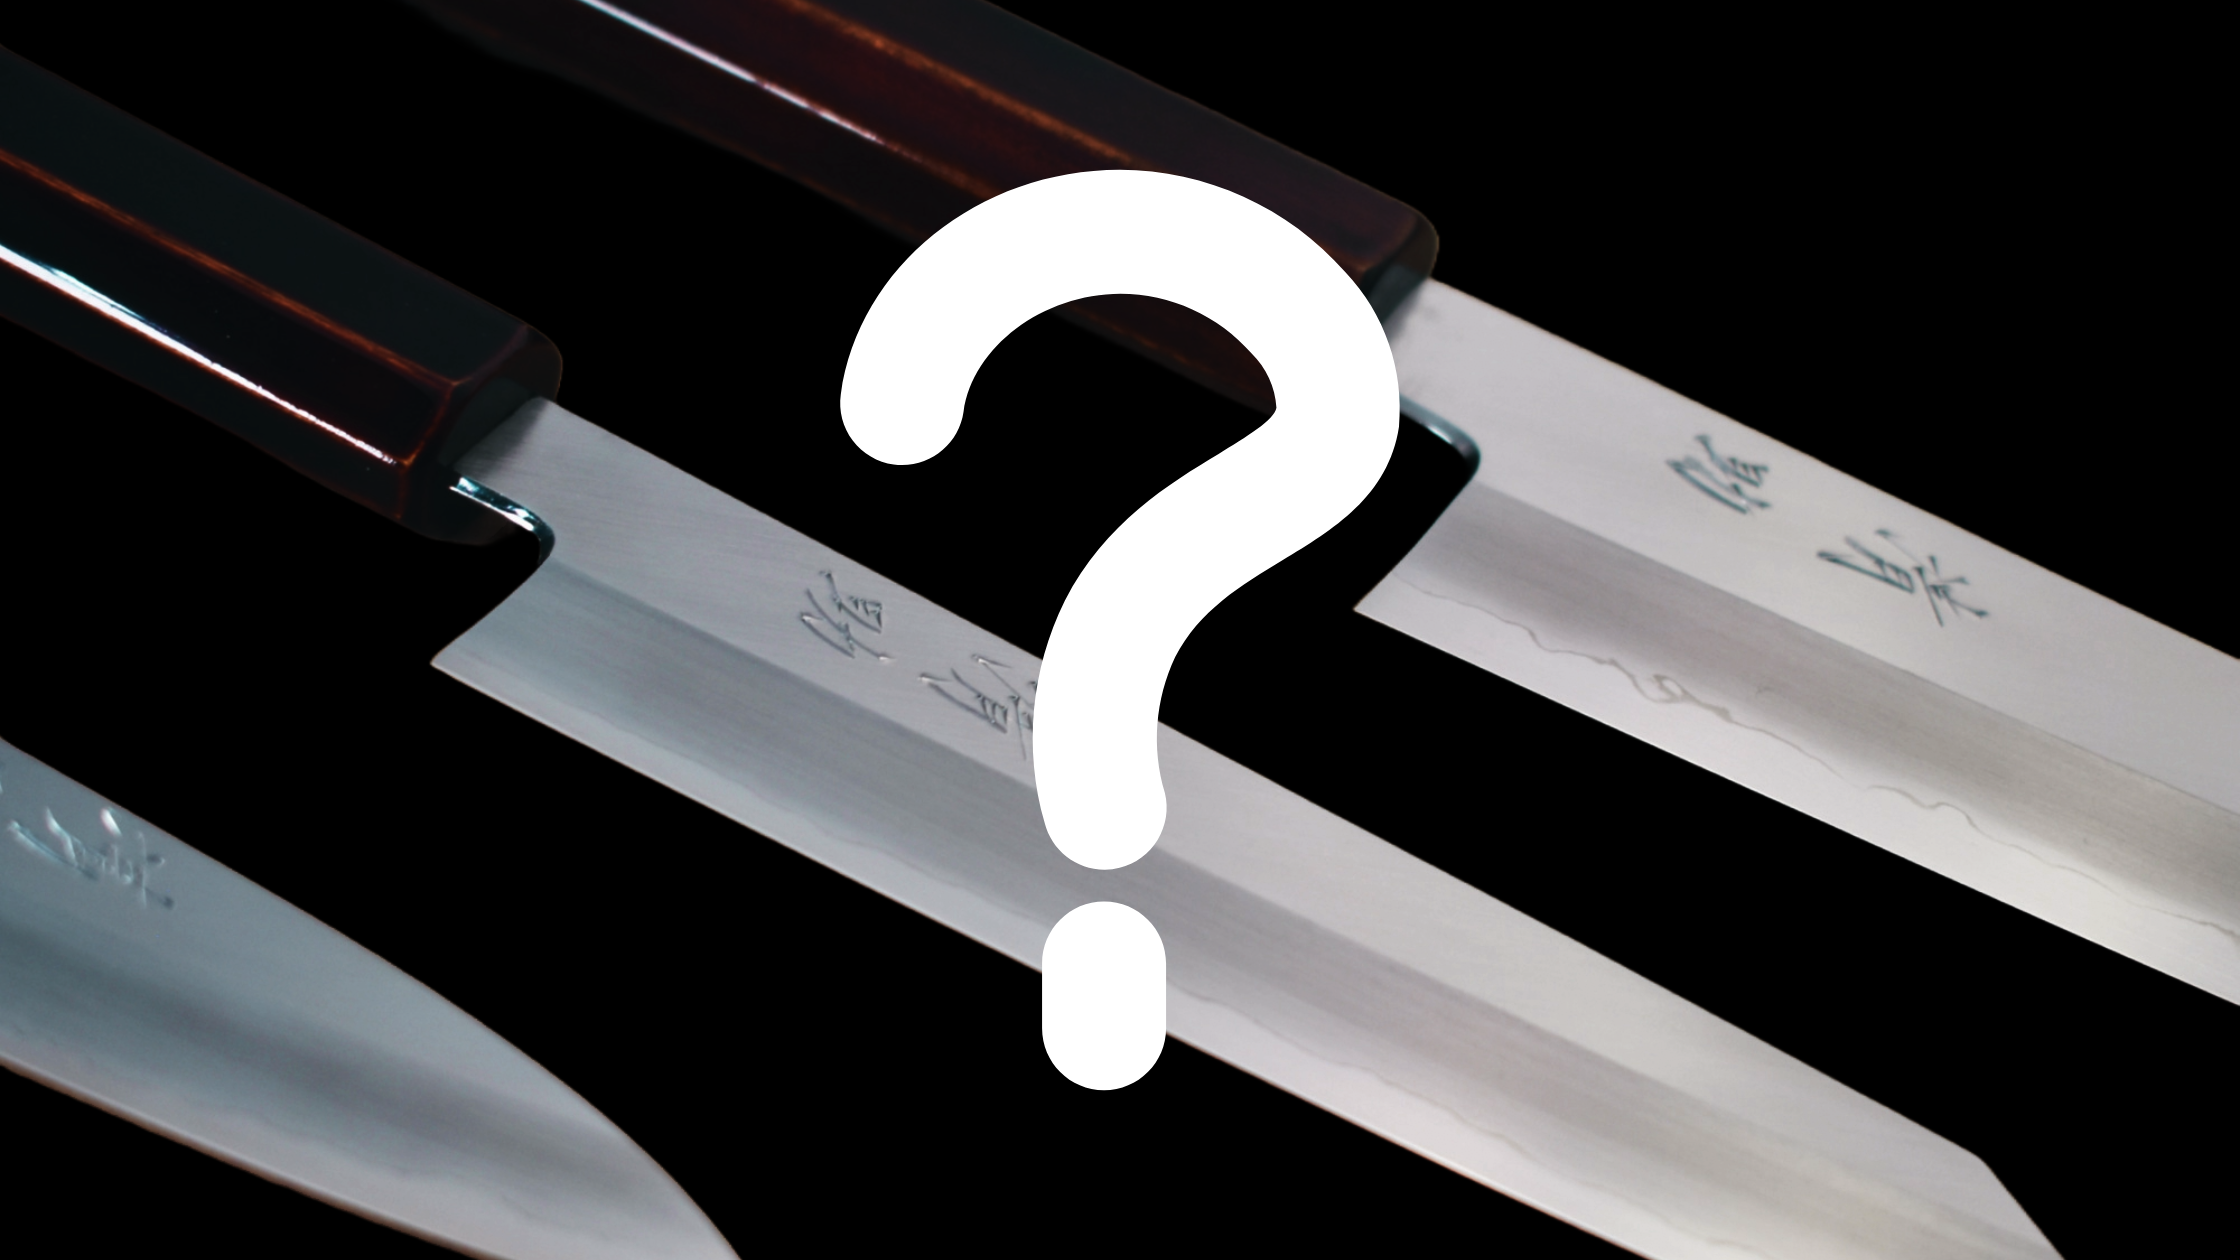
Have you ever marveled at the precision and artistry of Japanese cuisine? Much of that stems from the mastery of the chef's most trusted tool: the kitchen knife. In this blog post, we'll go into the different parts of a Japanese kitchen knife, revealing how each carefully crafted element contributes to the performance of the tool.
The Anatomy of Japanese Kitchen Knives
From the razor-sharp edge to the ergonomic handle, we break down the key components:
- The Blade: Learn about the cutting edge, tip, spine, and the unique core and cladding construction.
- The Handle: Compare traditional Japanese (Wa) and Western (Yo) handle styles.
- Plus, The Parts in Between: Things like the choil, machi, and neck.
Understanding the intricate design of these knives isn't just for professionals. Whether you're a home cook or an aspiring chef, knowing your knife's anatomy can elevate your cooking game. From the razor-sharp edge to the ergonomic handle, every part plays a crucial role in performance, durability, and functionality.
This knowledge can transform your cooking experience as you learn to choose the right knife for every task, maintain your blades like a pro, and appreciate the centuries of engineering behind each knife.

The Blade (Ha): The Heart of the Knife
The blade is the most crucial part of any knife, and Japanese blades are particularly notable for their design and construction. Let's break down the key elements of a Japanese knife blade:
- Cutting Edge (Hasaki): The sharpened part of the blade that does the actual cutting, running from heel to tip. It's the knife's most crucial functional component.
- Tip (Kissaki): The pointed end of the blade, used for precision work like trimming and detailed cutting. It's essential for tasks such as slicing onions before dicing or trimming fat off meat. However, it's also the most delicate part of the knife, prone to chipping if not handled carefully.
- Spine (Mune): The top, non-cutting edge of the blade. While not used for cutting, the spine can indicate whether a knife is hand-forged or machine-made. Hand-made knives typically have spines that become wider towards the handle, indicating they've been hammered into shape.
- Belly/Curve (Sori): The curved section of the cutting edge from the mid-point to the tip. Not all Japanese knives have this feature; for instance, the nakiri has a straight edge. Knives with a sori excel at rock-chopping and pull-cuts.
- Heel (Hamoto): The rear part of the blade, closest to the handle. It's ideal for beginning draw-cuts and rough chopping.
- Core (Hagane) and Cladding (Jigane): Many Japanese knives feature a hard steel core (hagane) for sharpness, surrounded by an outer softer steel (jigane) for durability. The hagane forms the cutting edge, while the jigane provides support and helps prevent rust.
- Flat (Hira): The sides or surfaces of the blade. For single bevel knives, it’s the upper half of the blade's beveled side. This flat surface contrasts with the angled cutting edge, reducing food sticking.
- Primary Bevel (Kireha): The angled section between the cutting edge and flat plane on single-bevel Japanese knives. This "blade road" slopes down towards the cutting edge, enhancing the knife's precision and performance.
- Shinogi: In single bevel Japanese knives, the shinogi is the line formed between the primary bevel (kireha) and the flat side (hira).
The Transition: Where Blade Meets Handle
Several important features mark the transition from blade to handle:
- Choil (Ago): The curve between the heel and the handle. "Ago" means "chin" in Japanese, referring to its shape and position.
- Machi: A small gap sometimes present between the blade and handle. Not every Japanese knife has a machi, but when present, it allows for adjusting the handle's position relative to the blade.
- Neck (Emoto): This provides distance between the handle and the cutting part of the blade. It enhances maneuverability and gives extra space for your fingers.

The Handle (E): Comfort and Control
While often overlooked, the handle is a vital part of any knife, allowing the user to comfortably grasp and control the blade. Japanese knife handles come in two main styles:
- Japanese (Wa) Handle: Traditional Japanese handles are typically crafted from wood, featuring a simple, oval shape. They comprise of both a main component and a ferrule. While less durable, they are easy to replace.
- Western (Yo) Handle: Western-style handles often incorporate rivets and a full tang for enhanced durability. They're generally heavier and more robust than Japanese handles, though they prove challenging and expensive to repair or replace when damaged.
Key parts of the handle include:
- Ferrule (Tsunomaki/Kakumaki): A collar at the base of the neck that reinforces Japanese-style handles and protects them from splitting. It also protects the fingers from irritation during prolonged kitchen work.
- Tang (Nakago): The part of the blade extending into the handle, providing stability. In Japanese style handles, the tang is often hidden and doesn't run the full length of the handle—typically only about 2/3 or 3/4 of the way through—making the handle lightweight. Western-style handles usually have a tang that spans the entire length and width of the handle, shifting the balance towards the heavier handle.
- Butt (Ejiri): The end of the handle. On Japanese handles, it's typically flat and rarely touched, even when fully gripping the knife. Western-style knives often have a metal or rounded extension at the handle's end, slightly hooking under the pinky. This butt enhances full-handed grips, unlike the flat ejiri on Japanese handles. However, the flat ejiri proves useful for some tasks, like crushing garlic.
- Rivets: Metal fasteners that secure the Western handle to the blade's full tang, extending to the handle’s butt. Two to three rivets provide stability and balance, centering the knife's mass.
- Bolster: A metal section connecting handle to blade on Western-style knives. Enhances comfort and indicates knife's center of mass. Can extend up the neck or heel, creating a rounded lower edge.

Why Understanding Knife Anatomy Matters
Knowing the parts of a Japanese kitchen knife isn't just about memorizing vocabulary or impressing your friends (though that's a nice bonus). It’s actually pretty useful and can help you:
- Choose the right knife and part of the blade for tasks
- Use and maintain your knives properly
- Communicate effectively when discussing or purchasing knives
- Appreciate the craftsmanship and design that goes into each knife
In essence, once you get to know your knife inside and out, it's like leveling up in a video game. Suddenly, that simple kitchen tool becomes your secret weapon, making cooking more fun and your knives more effective. Your knife goes from being just another tool to being your kitchen sidekick.
Think about it - you use your knife as much as the toaster over or that trusty frying pan. When you really understand it, you'll be handling your knife like a pro chef (minus the fancy hat). Your time in the kitchen will be smoother, safer, and way more enjoyable. Plus, your knives will stick around longer, always ready for your next culinary endeavor. It's a win-win situation, really.
Questions to Consider
- Which part of the knife do you think is most crucial for your cooking style?
- Can you think of a specific cooking task where knowing about the blade's tip, belly, or heel would be particularly useful?
- How might understanding the difference between Western and Japanese handles influence your knife choice?
Thanks for reading. Please share your thoughts or any other questions you have about Japanese kitchen knives in the comments below.